During early summer 2016 I started researching about some old consoles' video
circuit bending capabilities.
Doing these researches I stumbled upon
casperelectronics'
and
bitcrusher's modifications of the Nintendo Entertainment System.
Amazed by the ease and possibilities of these modifications I got my hands
on a working NES and started experimenting based on the info provided by
other modders.
I specifically aimed at the three ICs involved in the NES video processing:
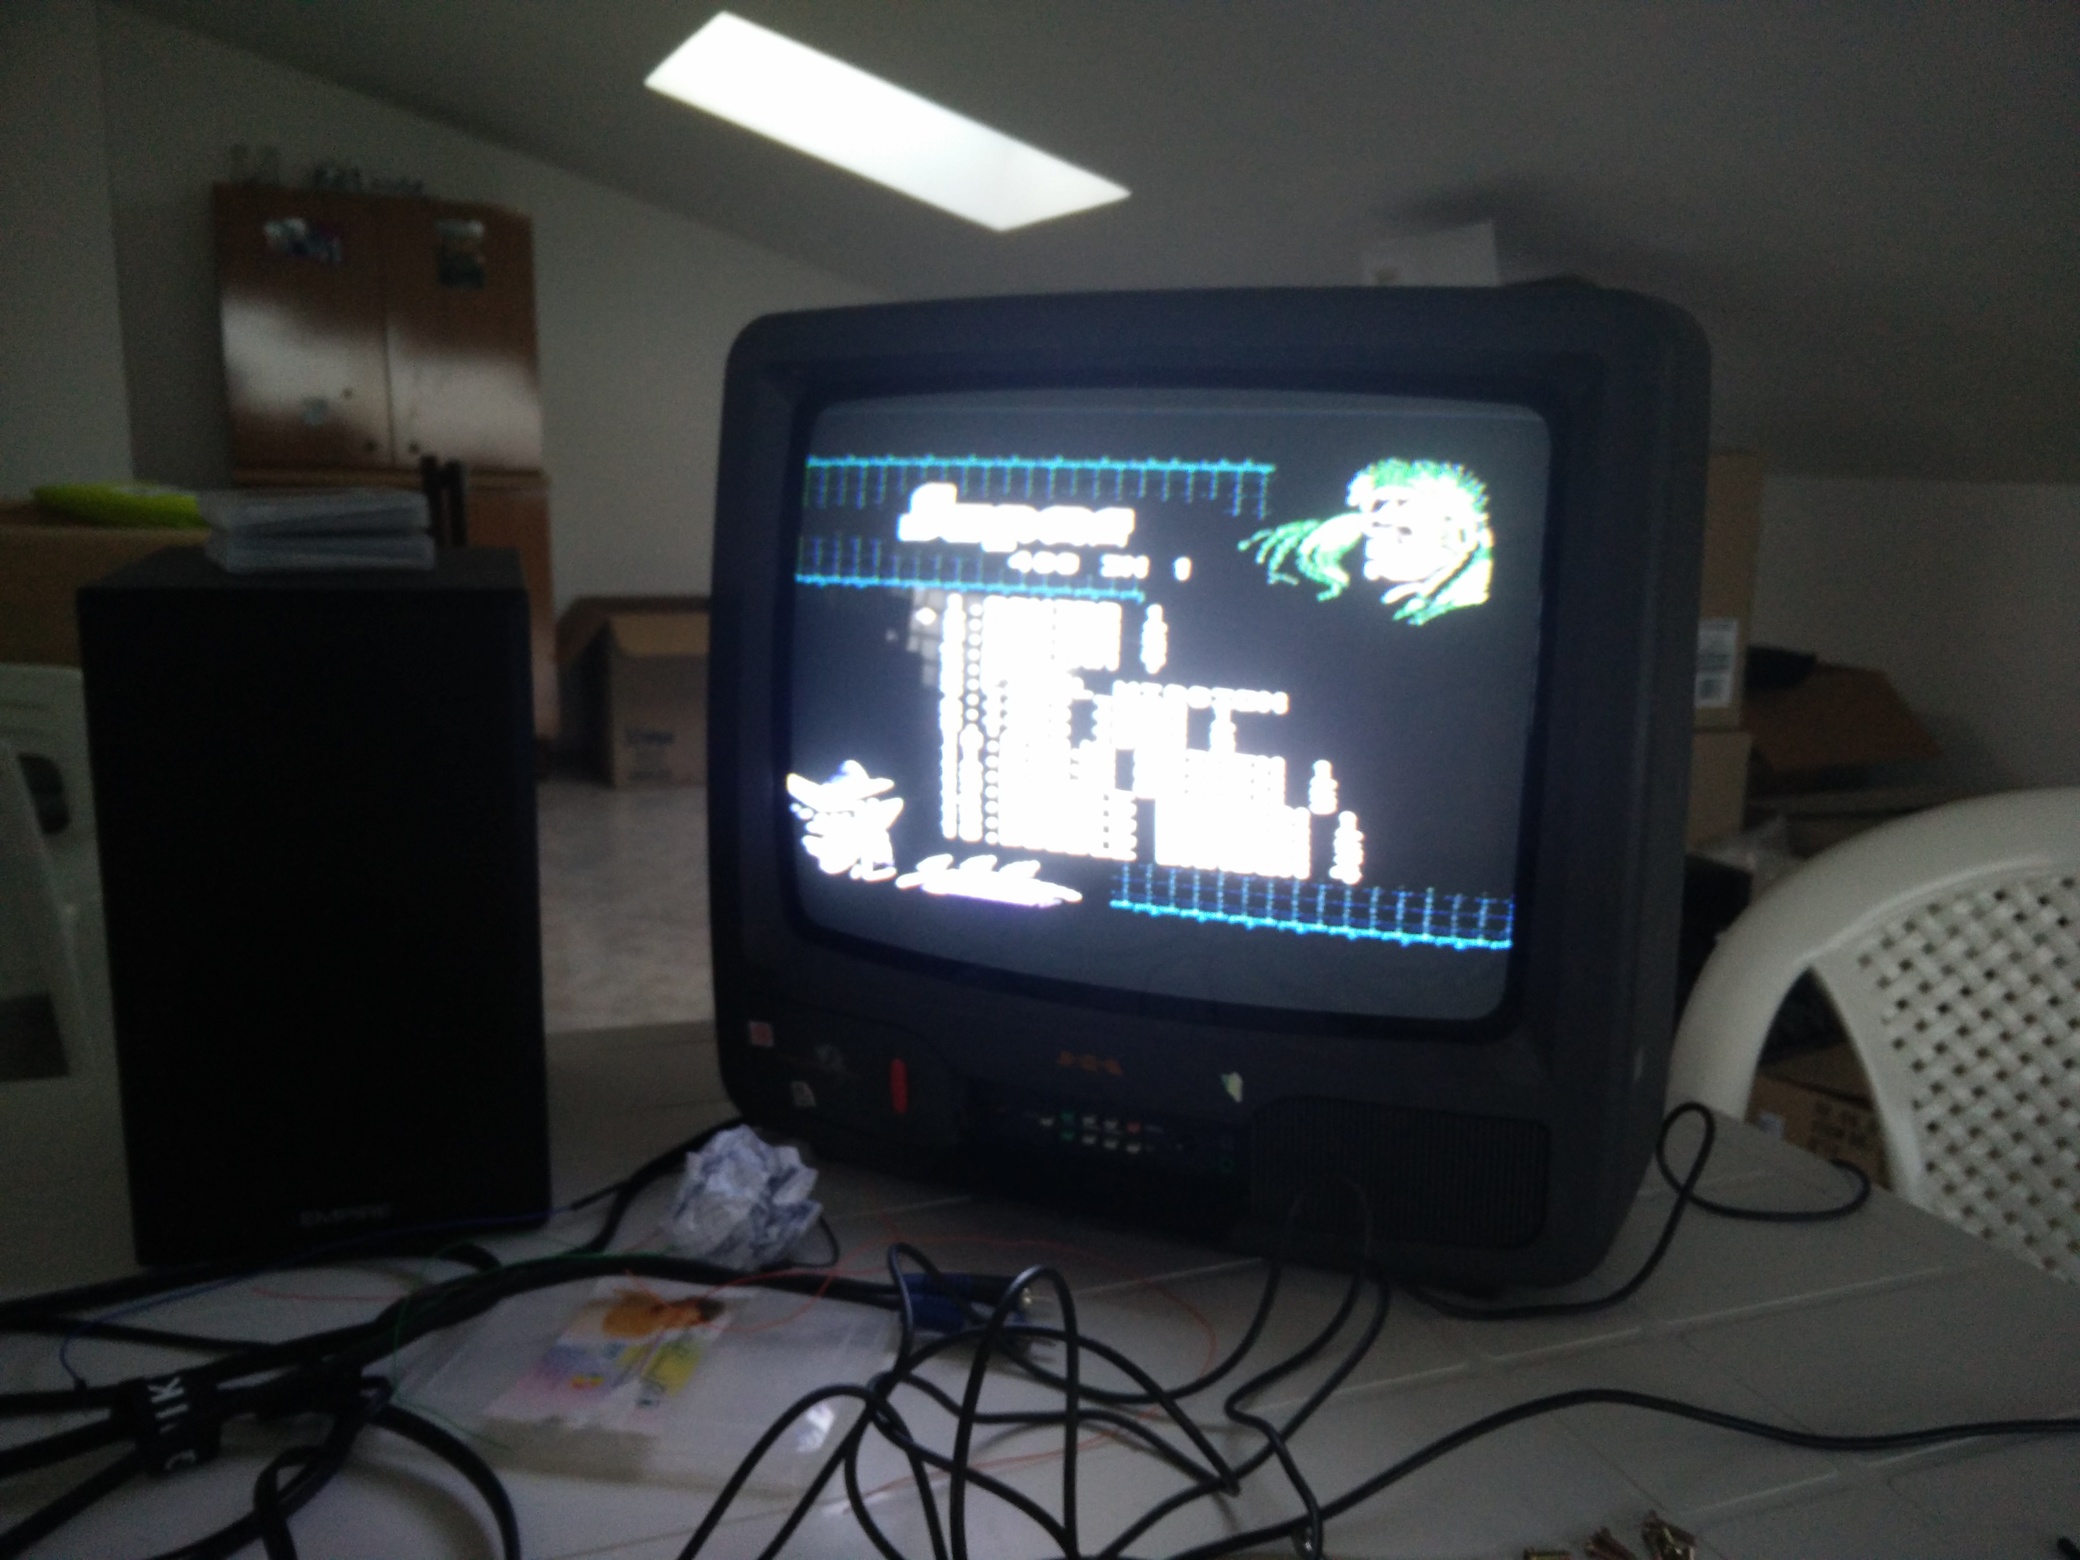
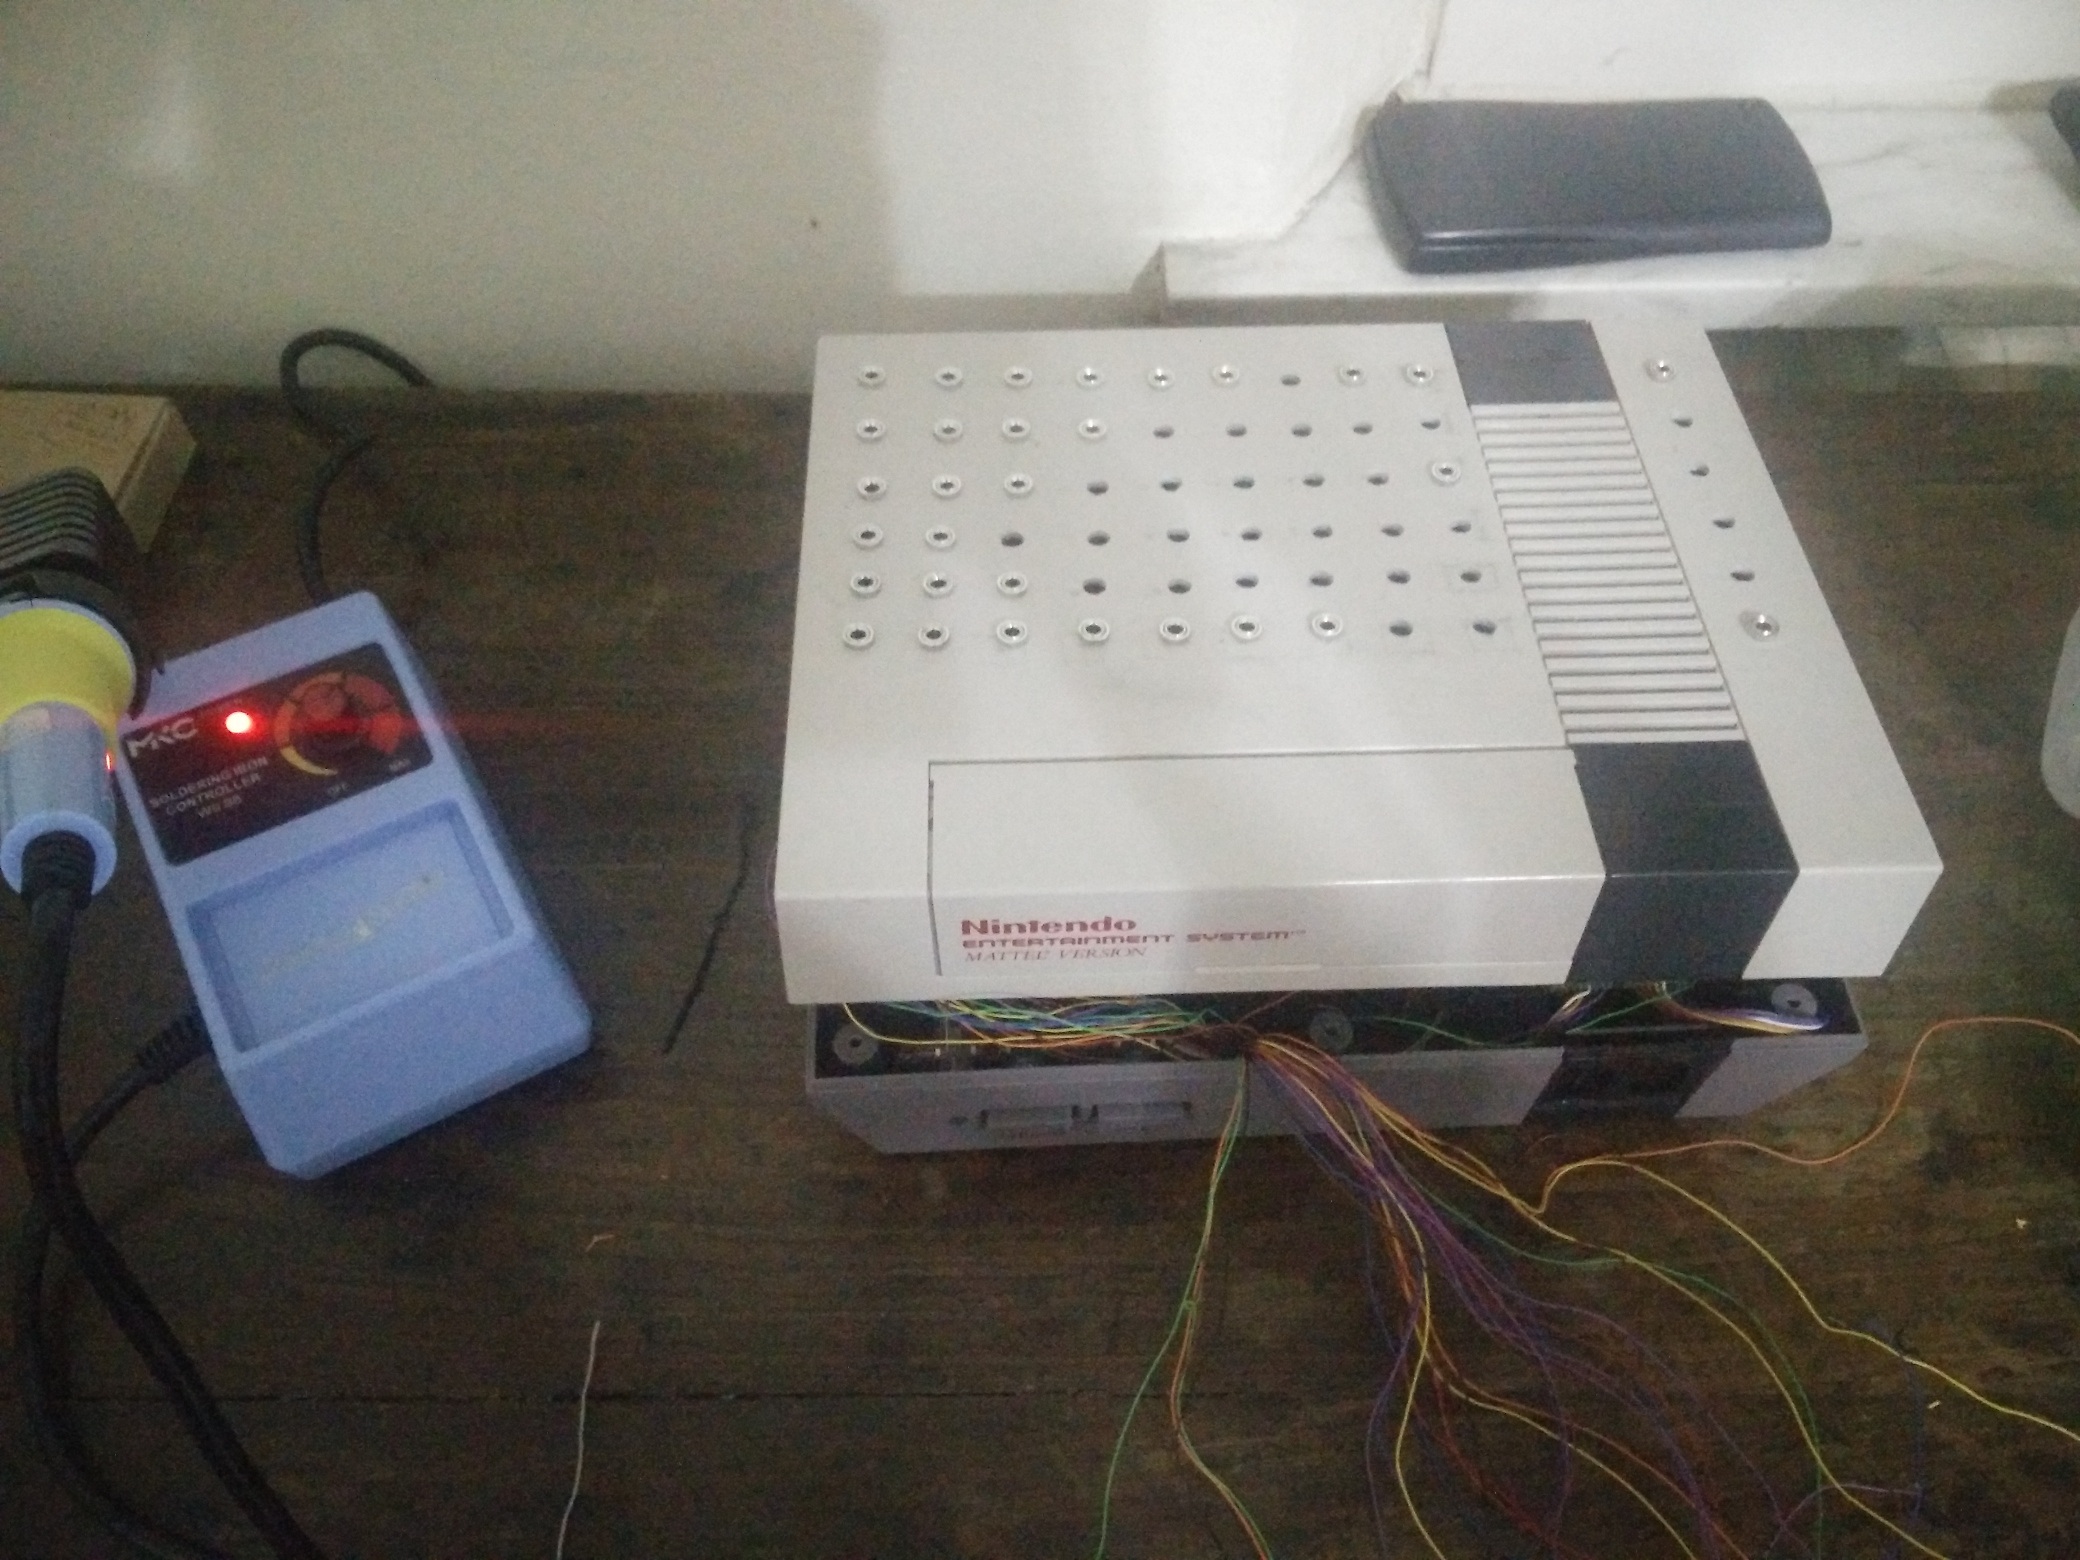
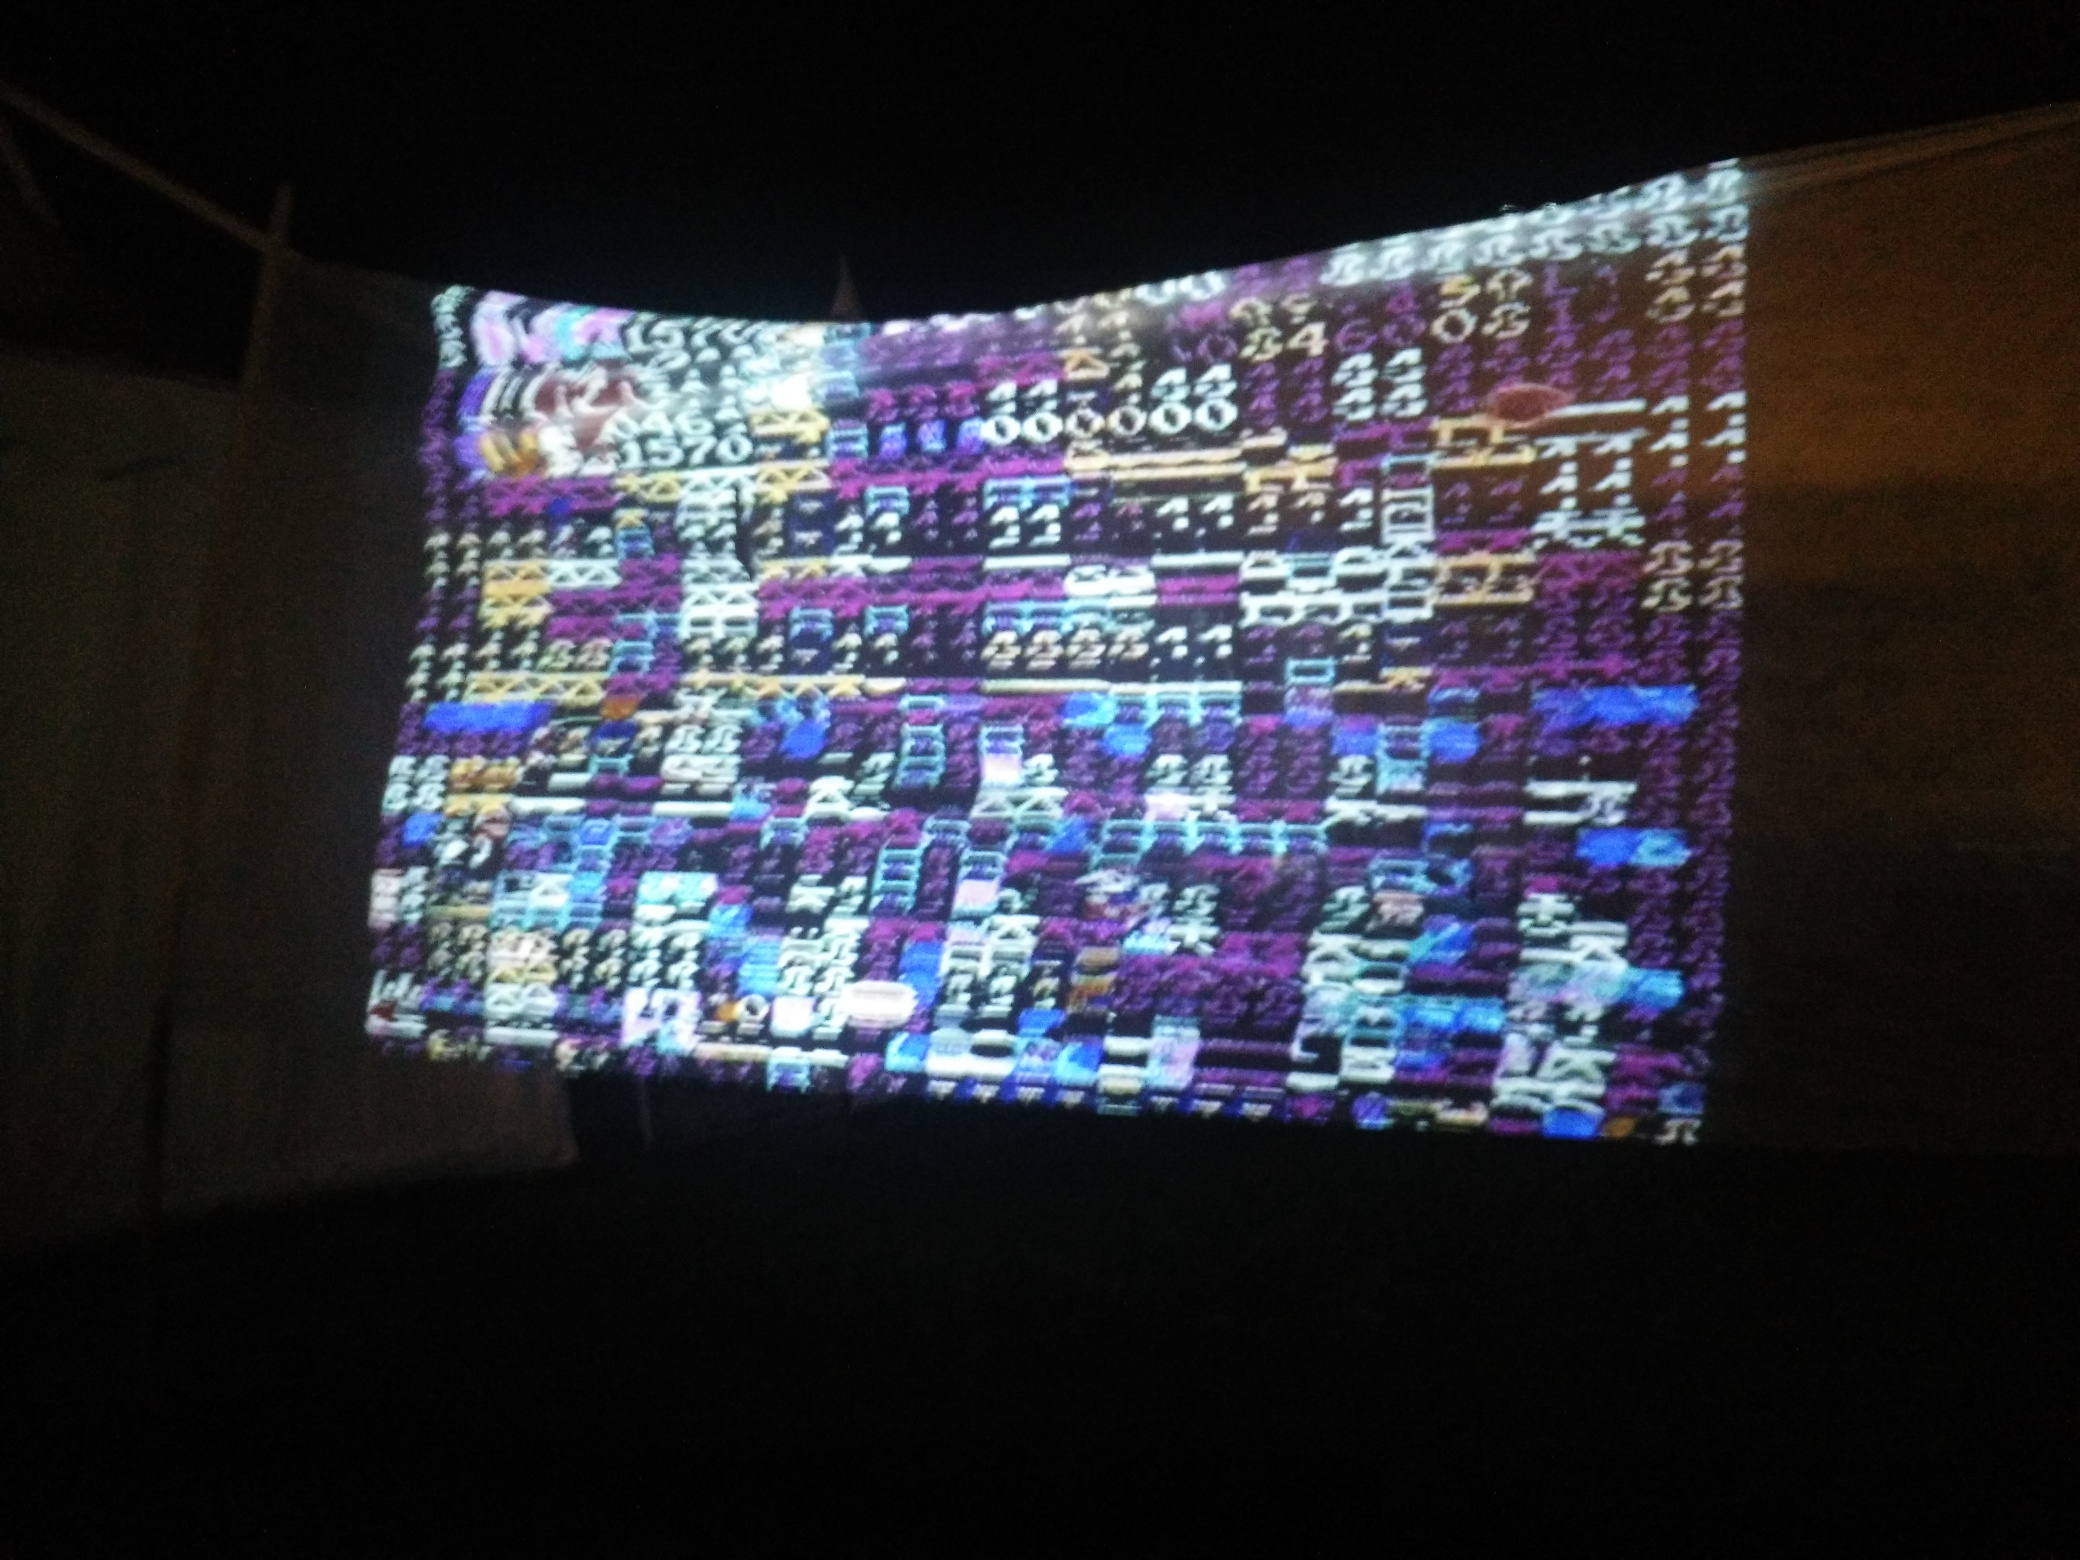
The goal was to shortcut some pins while playing, to produce different
glitches based on which were the pins connected. In order to do so, I
thought of a modular connection system as in modular synths, with patch
connectors and a lot of patch cables to provide maximum flexibility and ease
of use. I decided that my best bet were 3.5mm audio jack cables, since
they're cheap, used everywhere, and provide access to external input in a
lot of situations. Later on, I found out my approach was rather slow (sadly)
in a live context. Also, using jack connectors would have made a lot more
sense if all the jacks carried both the signal and the ground, but that
would have doubled the cables so I stuck with signal only.
I noted the best pins in a document.
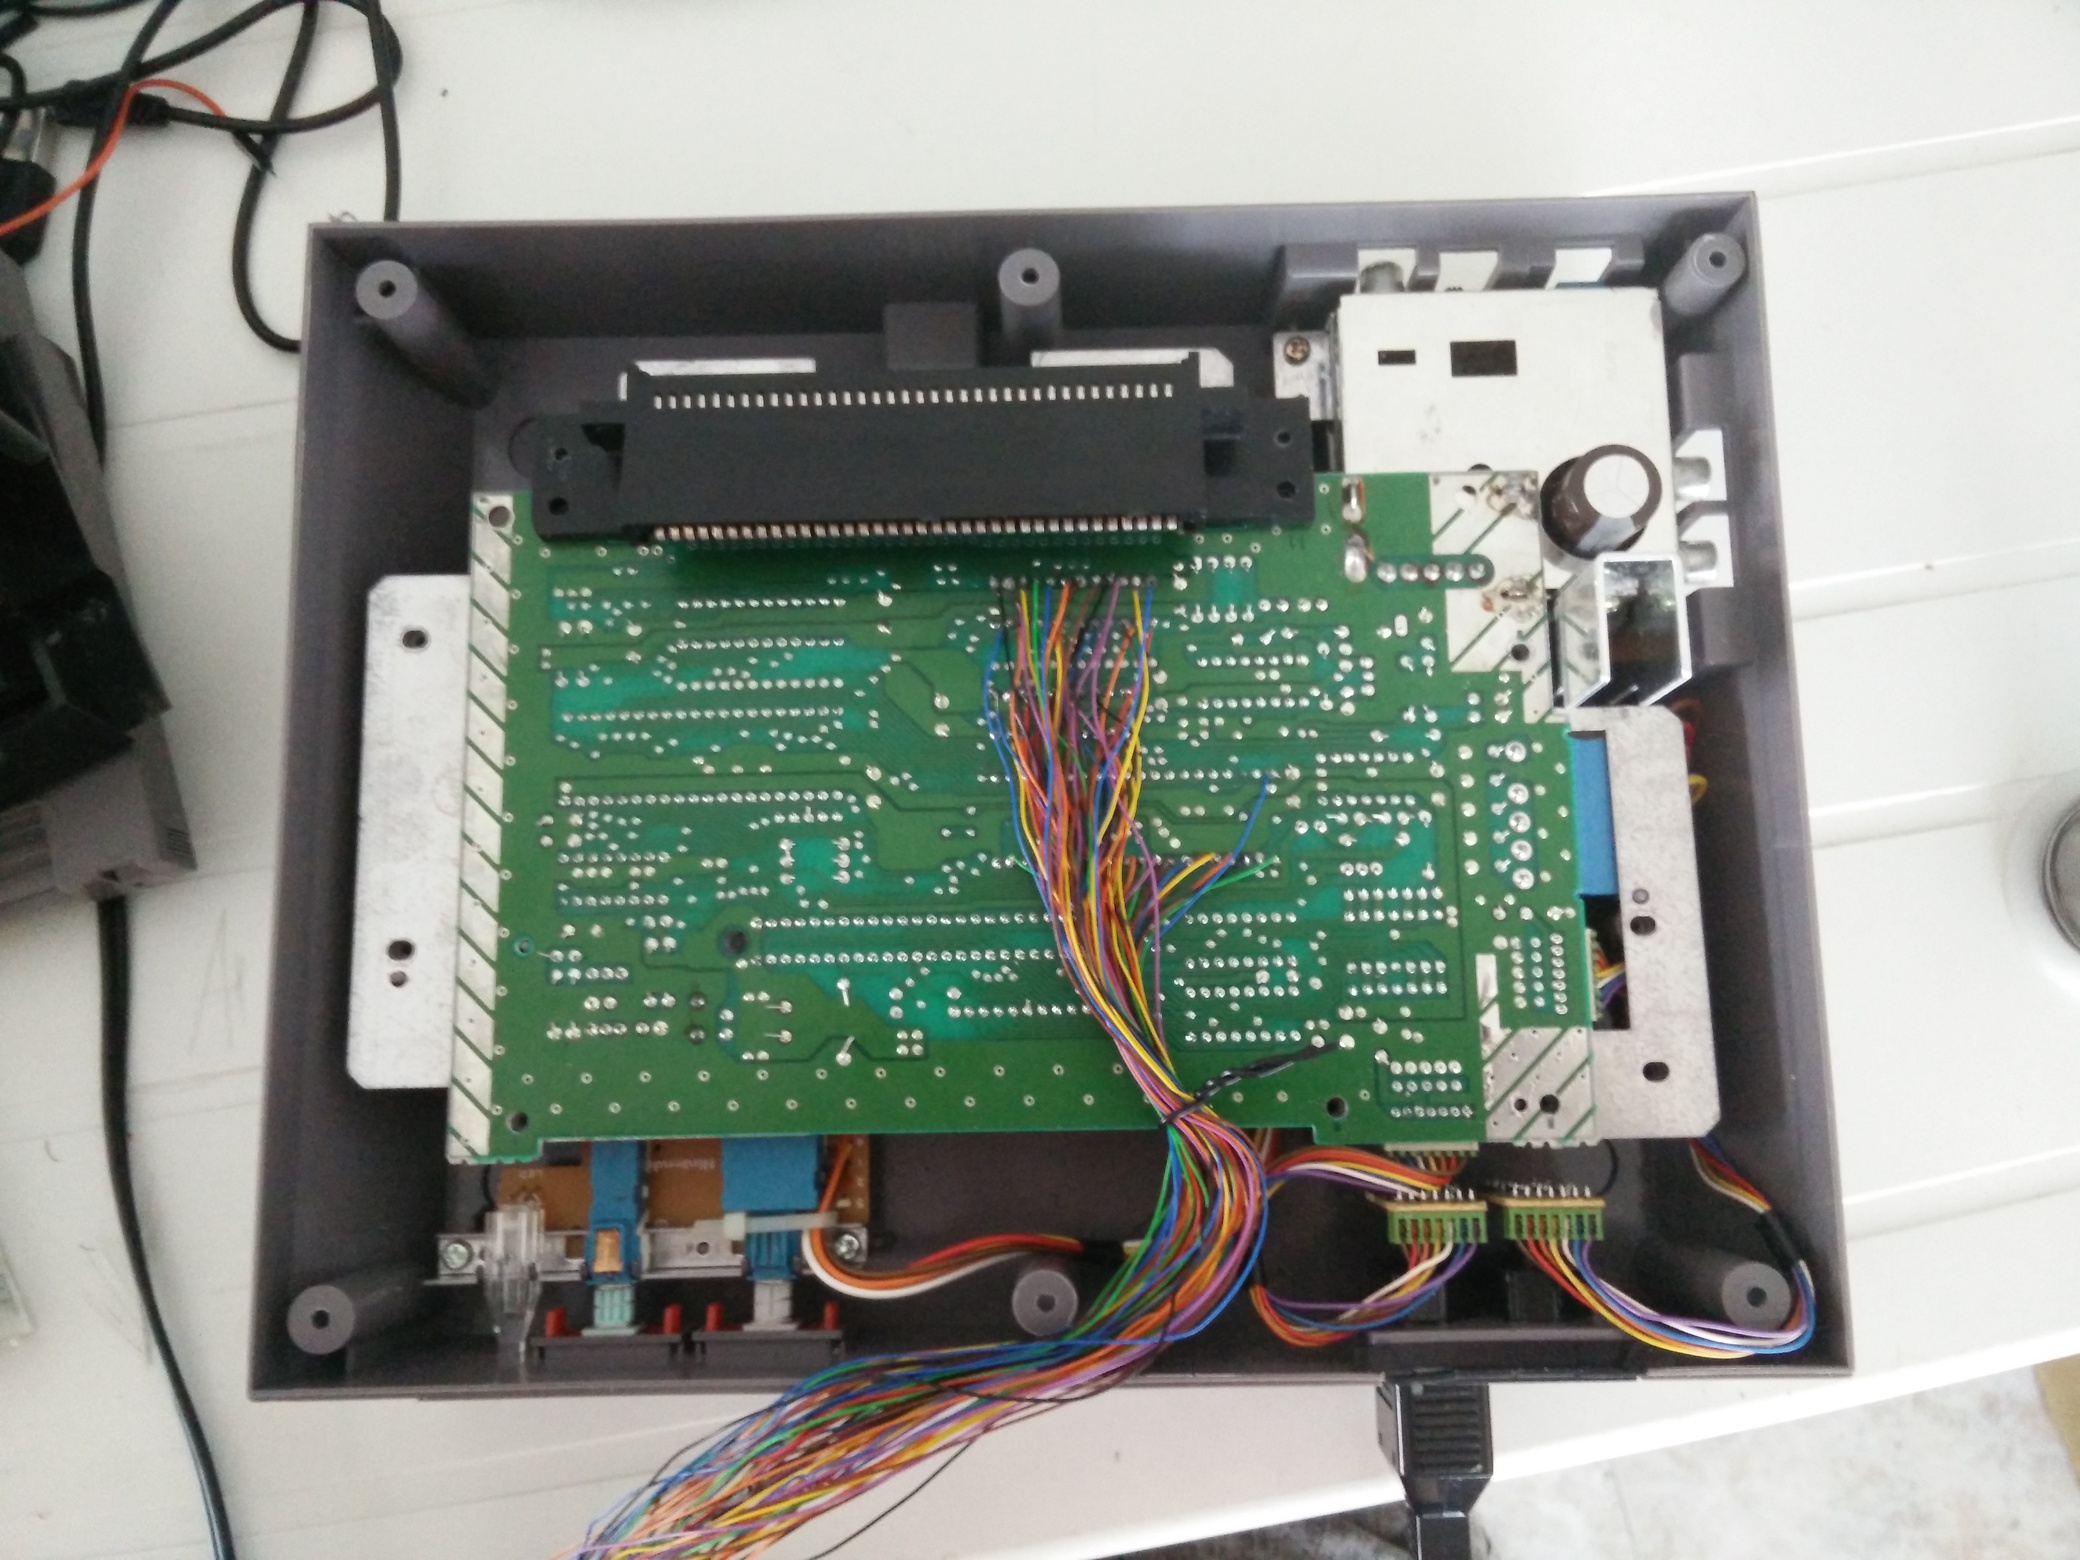
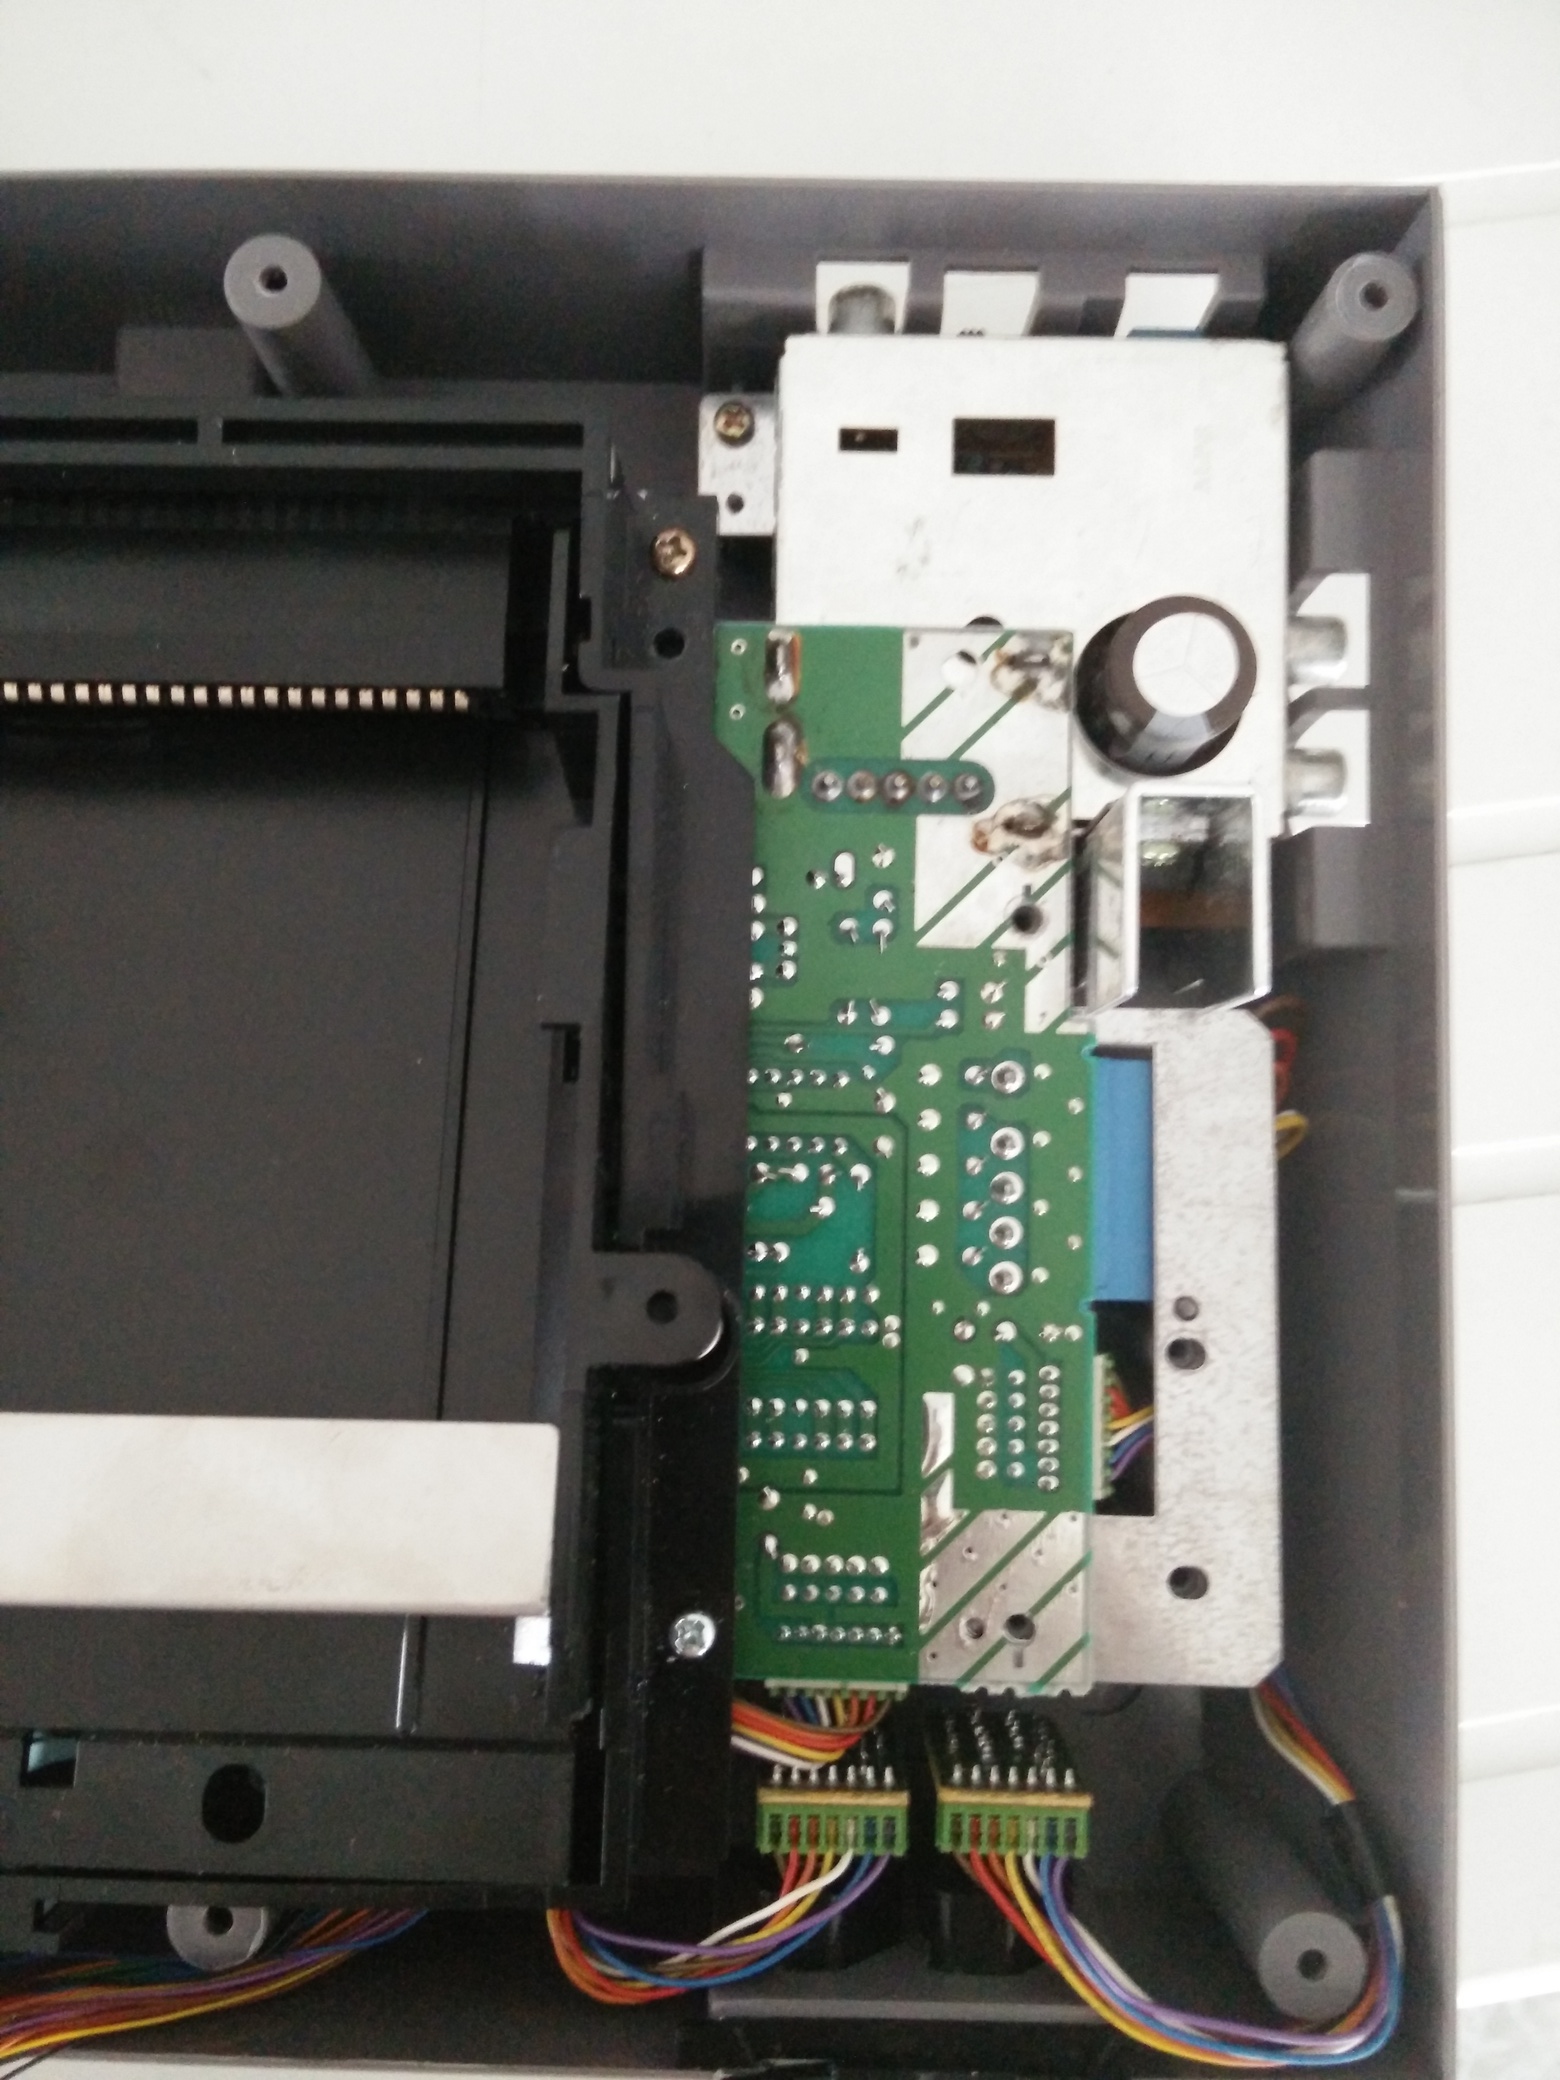
I then proceeded to solder each of these 60 pins to cables. The result were
60 cables soldered to the back of the NES PCB. The pics are a bit blurry,
but you may be able to recognize a lot of bad soldering. Apologies, since
it's my first soldering project ever!
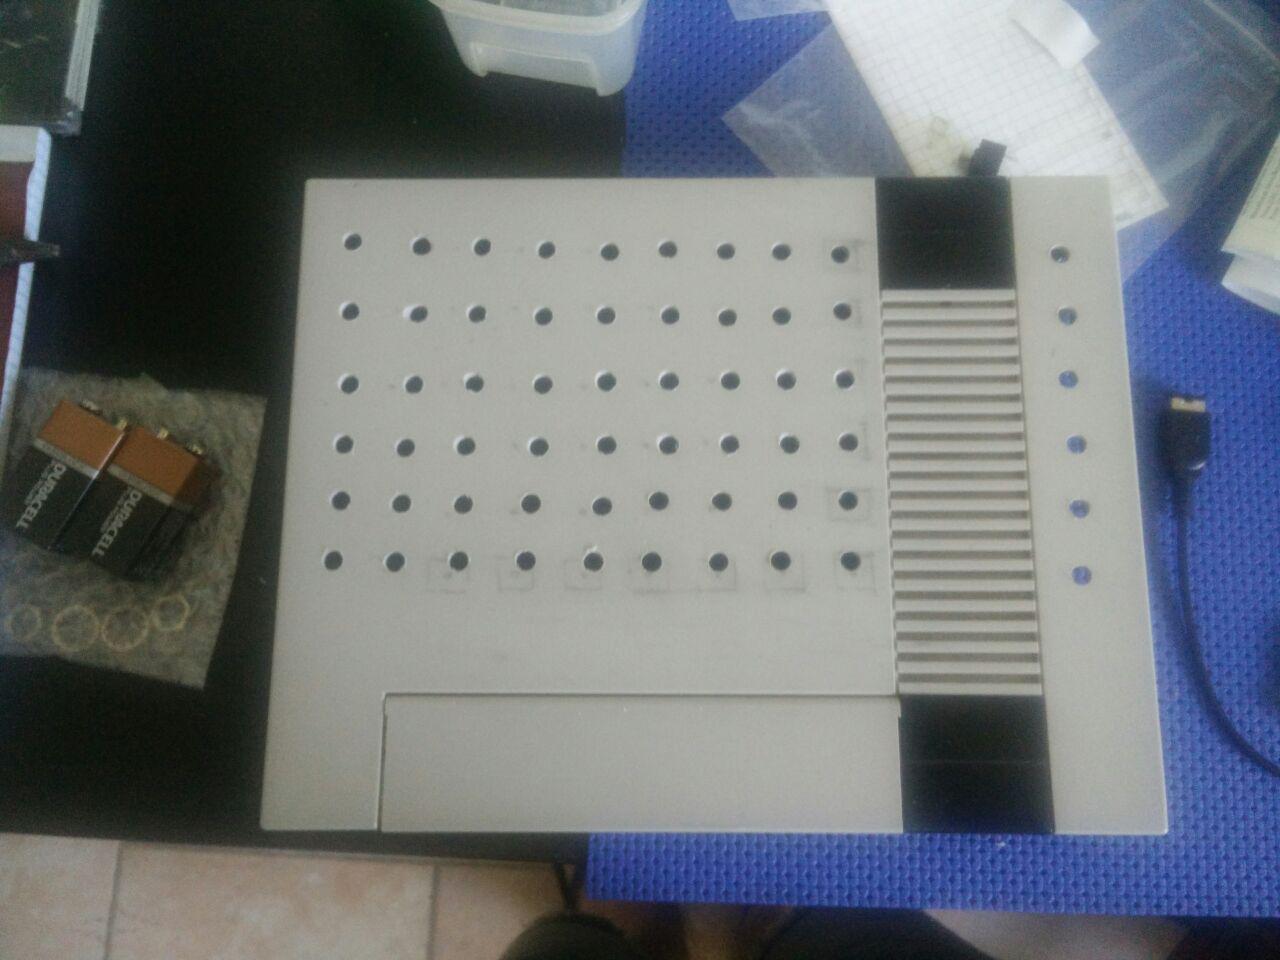
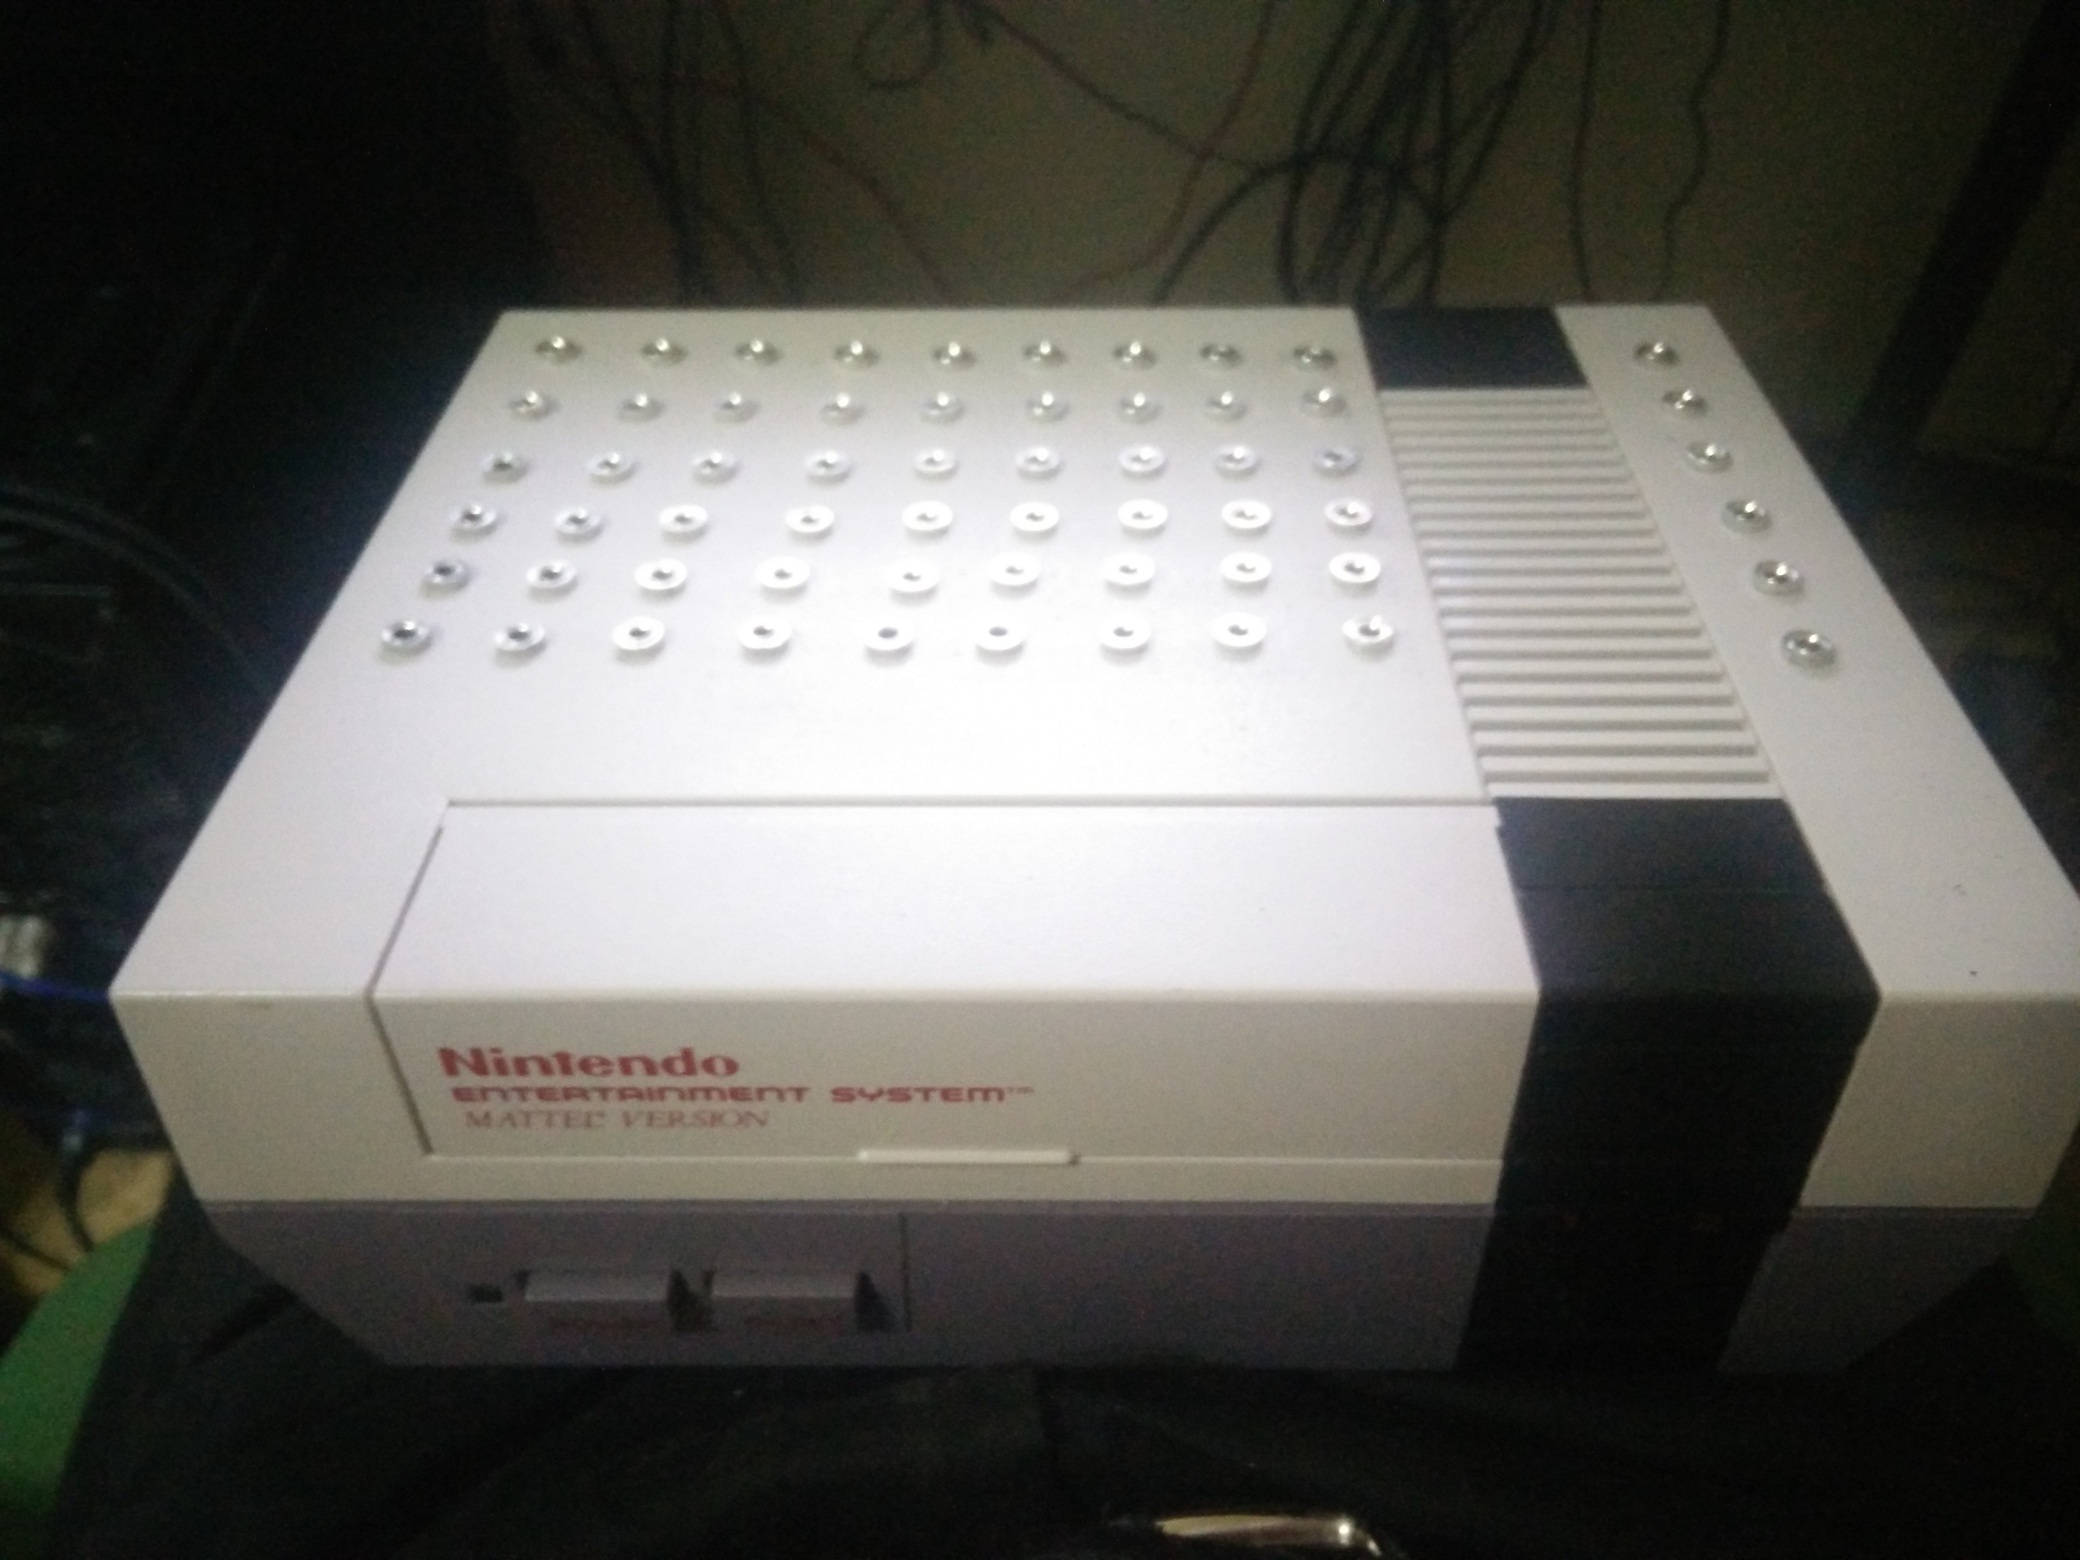
When I went on and reassembled the thing I noticed how the cables were
thickening a bit the space where the cartridge holder was supposed to be
inserted. After disposing the cable in the most compact way possible I found
it not being much of a problem. The only thing I had to care about was
rearranging the position of the long screws in order to compensate that
thickness.
I had no extra long screws lying around, so I just used those that I could.
One of them wouldn't fit anymore, but in the end the whole thing is holding
in its place without an issue.
I went on and remounted the top of the cartridge holder as well.
When the mechanism for holding the cartridge is released, it pushes a little
bit against the top due to the extra space occupied by the cables. This is
no problem since the NES has a lot of room that can easily handle this
situation.
Having the holes perfectly aligned would have probably made the whole thing
a bit prettier, but here goes anyway.
I then proceeded to take each jack socket and solder the "jack tip" end to a
cable, repeating the process for each cable.
I forgot to take pictures of the actual inside of the NES and you
probably would be grateful for it if you just knew how much of a mess it is
on the inside. You don't want to see any of that shit.
Anyway, there is this one
picture taken in the meanwhile.
Also, I had to use some tape to fix the loose sockets, because just using the
nut of the socket wasn't enough for some of them.